이 페이지에서는 Component Basics를 이미 읽었다고 가정한다. Component를 처음 사용하는 경우 Component Basics를 먼저 읽고 와야 한다.
Emitting and Listening to Events
Component는 내장 함수 $emit을 사용하여 템플릿 표현식(예: v-on 핸들러)에서 직접 사용자 정의 이벤트를 발신할 수 있다.
<!-- MyComponent -->
<button @click="$emit('someEvent')">click me</button>
$emit() 메서드는 component 인스턴스에서 this.$emit()로 사용할 수도 있다:
export default {
  methods: {
    submit() {
      this.$emit('submit')
    }
  }
}
그러면 부모는 v-on을 사용하여 수신할 수 있다.
<MyComponent @some-event="callback" />.once 수식어는 component 이벤트 리스너에서도 지원된다.
<MyComponent @some-event.once="callback" />
Component 및 props와 마찬가지로 이벤트 이름은 자동 대소문자 변환을 제공한다. camelCase 이벤트를 발신했지만 부모에서 kebab-case 표기로 리스너를 사용하여 이를 수신할 수 있다. props 케이싱과 마찬가지로 템플릿에서 kebab-case 형식의 이벤트 리스너를 사용하는 것이 좋다.
tip. 네이티브 DOM 이벤트와 달리 component 이벤트 발신은 버블링 되지 않는다. 직계 자식 component에서 발생하는 이벤트만 수신할 수 있다.
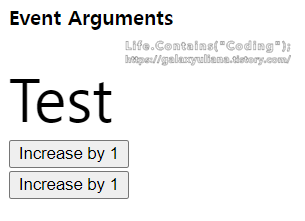
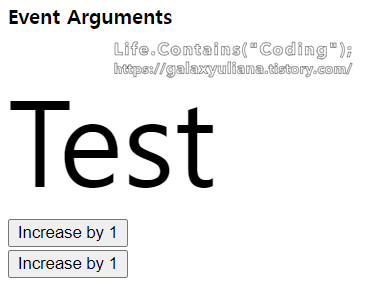
Event Arguments
이벤트와 함께 특정 값을 내보내는 것이 때때로 유용하다. 예를 들어, <BlogPost> component가 텍스트를 얼마나 크게 확대할지 결정할 수 있다. 이러한 경우 $emit에 추가 인자를 전달하여 이 값을 제공할 수 있다.
<button @click="$emit('increaseBy', 1)">
  Increase by 1
</button>
그런 다음 부모에서 이벤트를 수신할 때 인라인 화살표 함수를 리스너로 사용하여 이벤트 인자에 액세스 할 수 있다.
<MyButton @increase-by="(n) => count += n" />또는 이벤트 핸들러가 메서드인 경우:
<MyButton @increase-by="increaseCount" />인자 값은 해당 메서드의 첫 번째 매개변수로 전달된다.
methods: {
  increaseCount(n) {
    this.count += n
  }
}
tip. $emit에서 이벤트 이름 뒤에 전달된 모든 추가 인자는 리스너로 전달된다. 예를 들어, $emit('foo', 1, 2, 3)을 사용하면 리스너 함수는 세 개의 인자를 받는다.
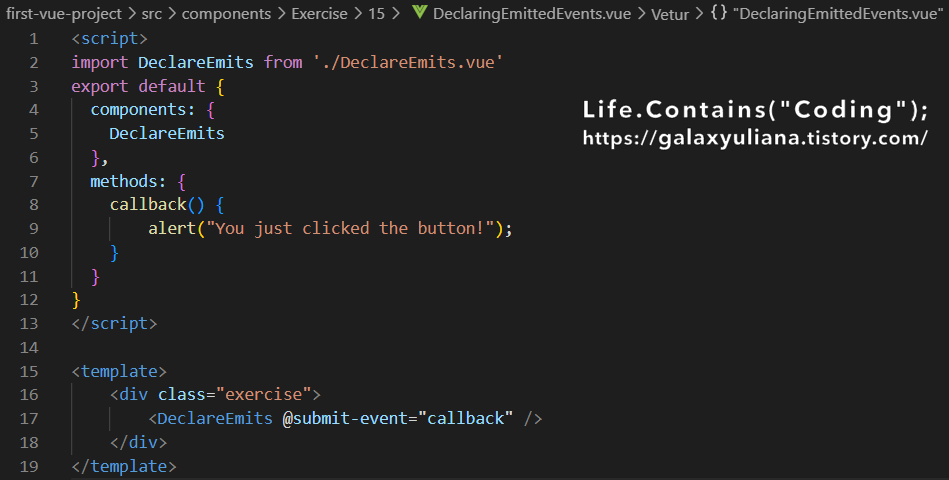
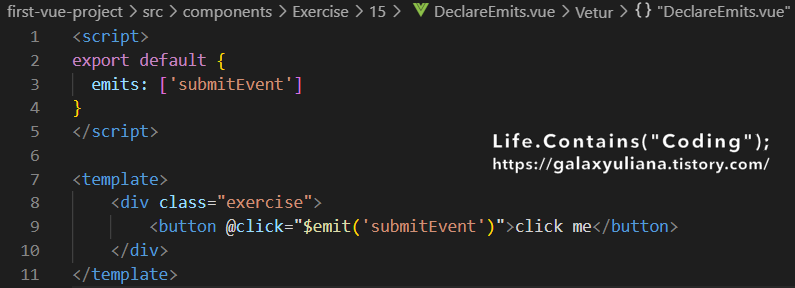
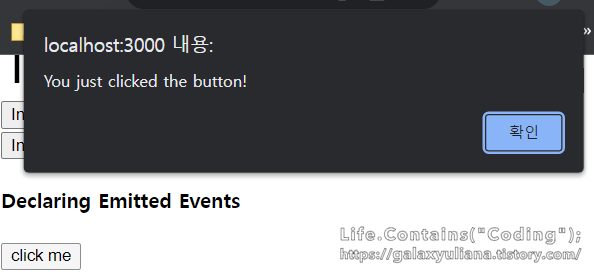
Declaring Emitted Events
발신되는 이벤트는 emits 옵션을 통해 component에서 명시적으로 선언될 수 있다.
export default {
  emits: ['inFocus', 'submit']
}
emits 옵션은 객체 구문도 지원하기에 발신되는 이벤트의 전달 내용(payload)에 대한 런타임 유효성 검사를 수행할 수 있다.
export default {
  emits: {
    submit(payload) {
      // `true` 또는 `false`를 반환하여
      // 유효성 검사 통과/실패 여부를 알려줌
    }
  }
}
선택 사항이지만 component가 작동하는 방식을 더 잘 문서화하기 위해 발산되는 모든 이벤트를 정의하는 것이 좋다. 또한 상위로부터 전달된 리스너는 Vue의 폴스루 속성(fallthrough)에 의해 제외할 수 있다.
tip. 네이티브 이벤트(예: 클릭)가 emits 옵션에 정의된 경우 리스너는 이제 component에서 발생하는 click 이벤트만 수신하고 네이티브 click 이벤트에 더 이상 응답하지 않는다.
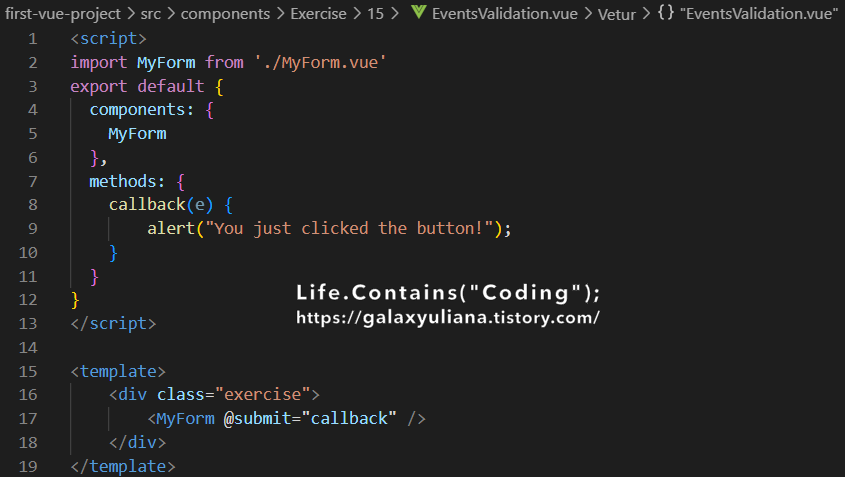
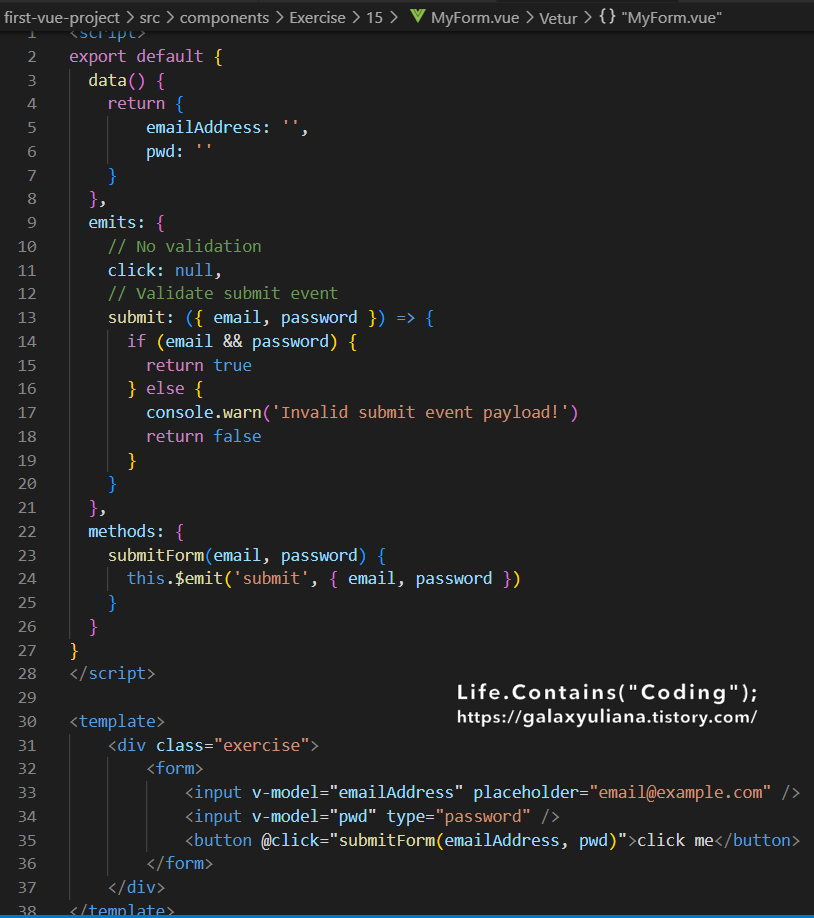
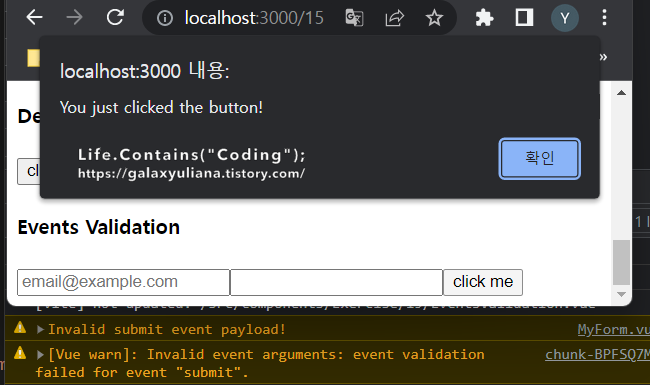
Events Validation
prop 타입 유효성 검사와 유사하게, 발신되는 이벤트는 배열 구문 대신 객체 구문으로 정의된 경우 유효성을 검사할 수 있다.
유효성 검사를 추가하기 위해 이벤트에는 this.$emit 호출 시 전달된 인자를 수신하고 이벤트가 유효한지 여부를 나타내는 불리언 값을 반환하는 함수가 할당된다.
export default {
  emits: {
    // 유효성 검사 없음
    click: null,

    // submit 이벤트 유효성 검사
    submit: ({ email, password }) => {
      if (email && password) {
        return true
      } else {
        console.warn('Invalid submit event payload!')
        return false
      }
    }
  },
  methods: {
    submitForm(email, password) {
      this.$emit('submit', { email, password })
    }
  }
}
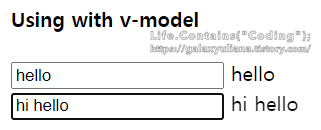
Usage with v-model
사용자 정의 이벤트를 사용하여 v-model과 함께 작동하는 사용자 정의 입력을 생성할 수도 있다.
다음 코드는:
<input v-model="searchText" />다음과 같은 작업을 수행한다.
<input
  :value="searchText"
  @input="searchText = $event.target.value"
/>
Component에서 사용될 때 v-model은 다음을 대신 수행한다.
<CustomInput
  :modelValue="searchText"
  @update:modelValue="newValue => searchText = newValue"
/>
이것이 실제로 작동하려면 component 내부의 <input>이 다음을 충족해야 한다.
- value 속성을 modelValue prop에 바인딩
- input에서 update:modelValue 이벤트로 새 값을 내보냄
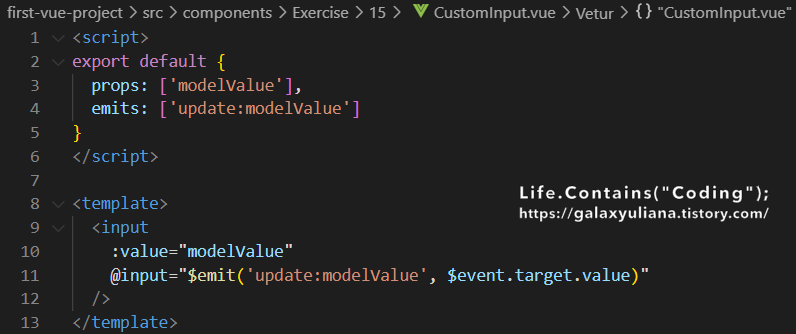
다음은 구현된 모습이다.
<!-- CustomInput.vue -->
<script>
export default {
props: ['modelValue'],
emits: ['update:modelValue']
}
</script>
<template>
<input
:value="modelValue"
@input="$emit('update:modelValue', $event.target.value)"
/>
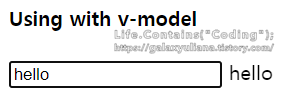
</template>이제 v-model은 이 component와 완벽하게 작동해야 한다.
<CustomInput v-model="searchText" />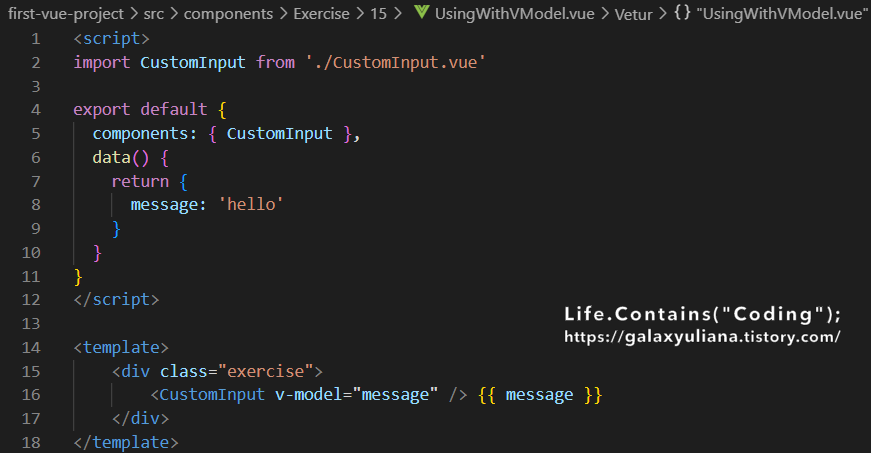
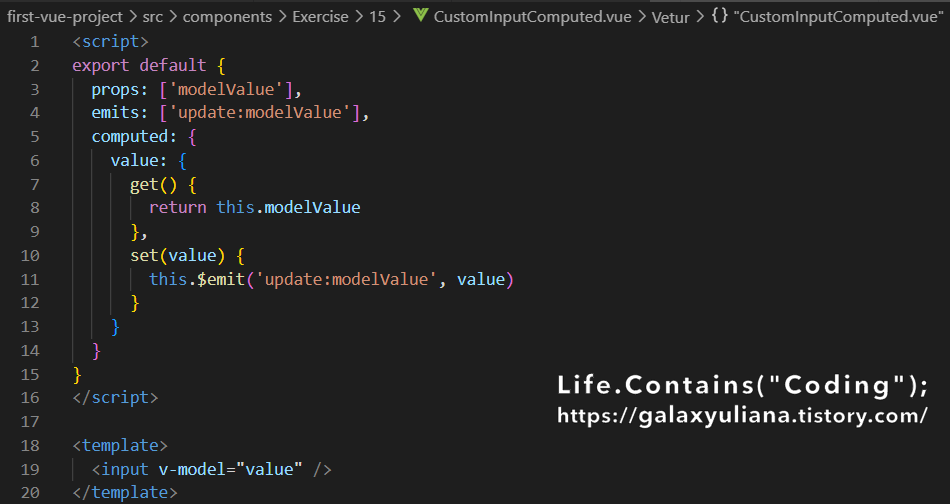
이 component 내에서 v-model을 구현하는 또 다른 방법은 getter와 setter 모두와 함께 쓰기 가능한 computed 속성을 사용하는 것이다. get 메서드는 modelValue 속성을 반환해야 하고 set 메서드는 해당 이벤트를 내보내야 한다.
<!-- CustomInput.vue -->
<script>
export default {
  props: ['modelValue'],
  emits: ['update:modelValue'],
  computed: {
    value: {
      get() {
        return this.modelValue
      },
      set(value) {
        this.$emit('update:modelValue', value)
      }
    }
  }
}
</script>

<template>
  <input v-model="value" />
</template>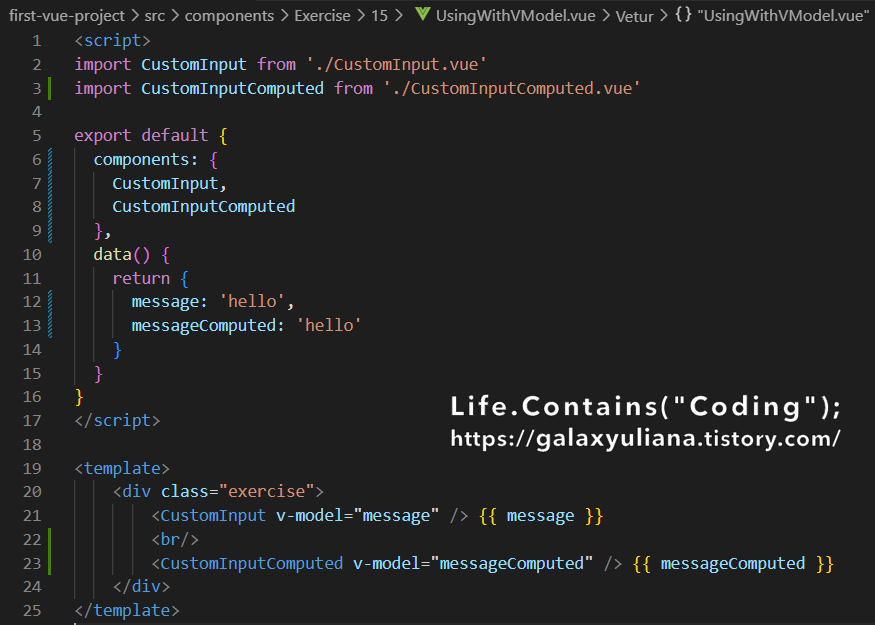
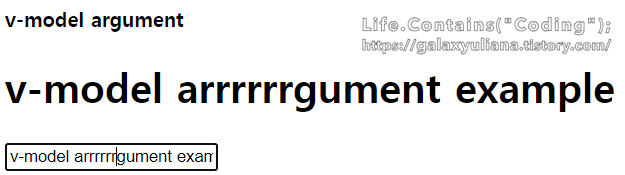
v-model arguments
기본적으로 component의 v-model은 modelValue를 prop으로 사용하고 update:modelValue를 이벤트로 사용한다. v-model에 인자를 전달하여 이러한 이름을 수정할 수 있다.
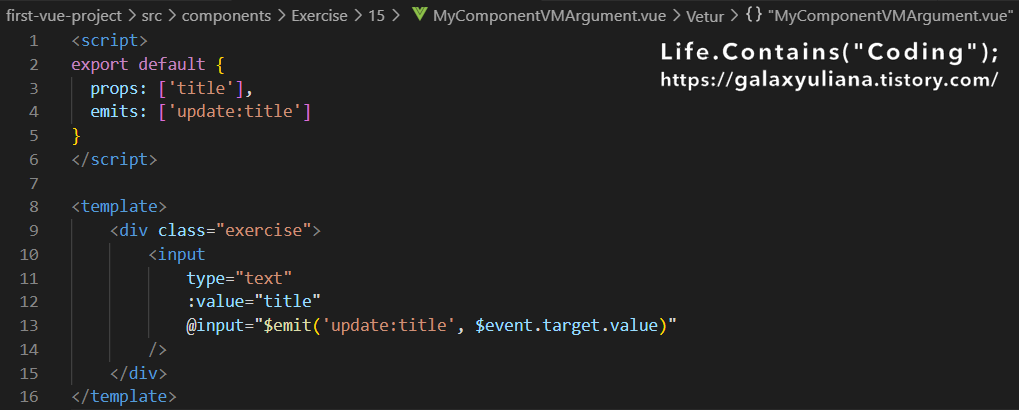
<MyComponent v-model:title="bookTitle" />이 경우 자식 component는 title prop을 예상하고 update:title 이벤트를 내보내 부모 값을 업데이트해야 한다.
<!-- MyComponent.vue -->
<script>
export default {
  props: ['title'],
  emits: ['update:title']
}
</script>

<template>
  <input
    type="text"
    :value="title"
    @input="$emit('update:title', $event.target.value)"
  />
</template>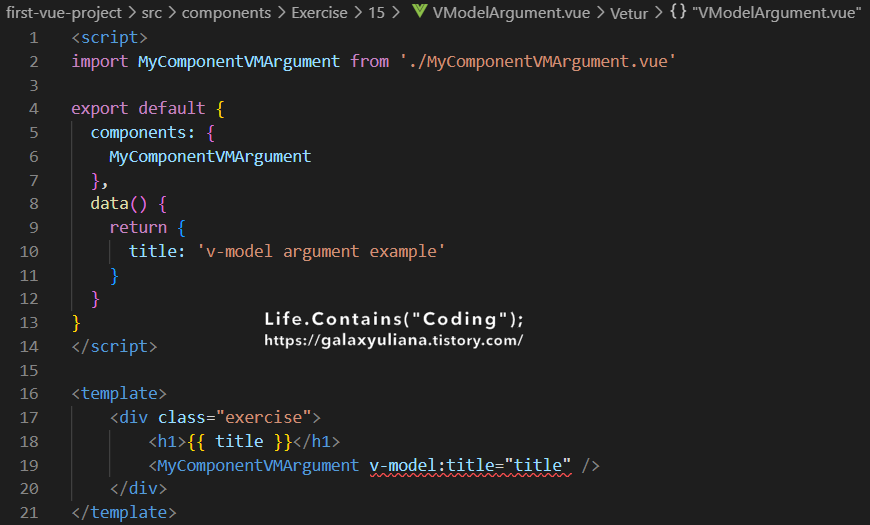
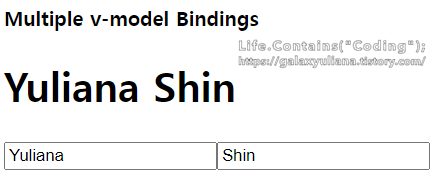
Multiple v-model bindings
이전에 v-model 인자로 배운 것처럼 특정 prop 및 이벤트를 대상으로 하는 기능을 활용하여 이제 단일 component 인스턴스에 여러 v-model 바인딩을 만들 수 있다.
각 v-model은 component에 추가 옵션이 필요 없이 다른 prop과 동기화된다.
<UserName
v-model:first-name="first"
v-model:last-name="last"
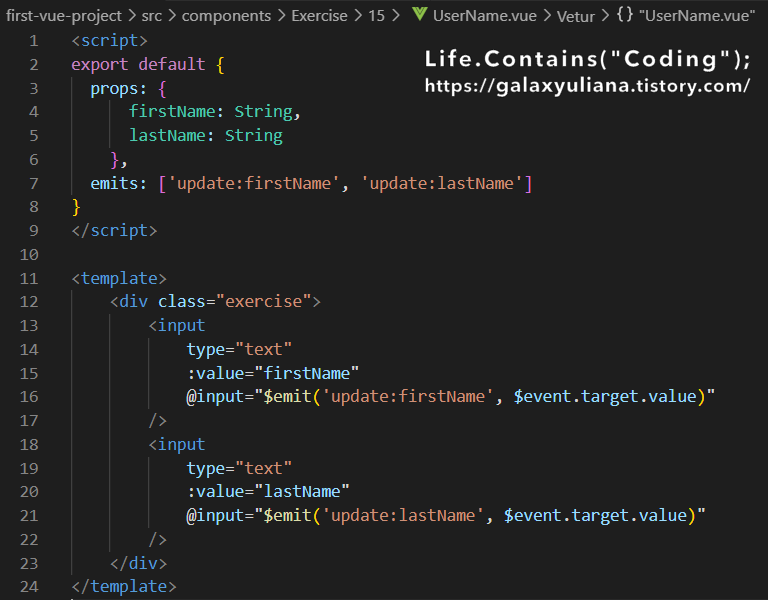
/><script>
export default {
props: {
firstName: String,
lastName: String
},
emits: ['update:firstName', 'update:lastName']
}
</script>
<template>
<input
type="text"
:value="firstName"
@input="$emit('update:firstName', $event.target.value)"
/>
<input
type="text"
:value="lastName"
@input="$emit('update:lastName', $event.target.value)"
/>
</template>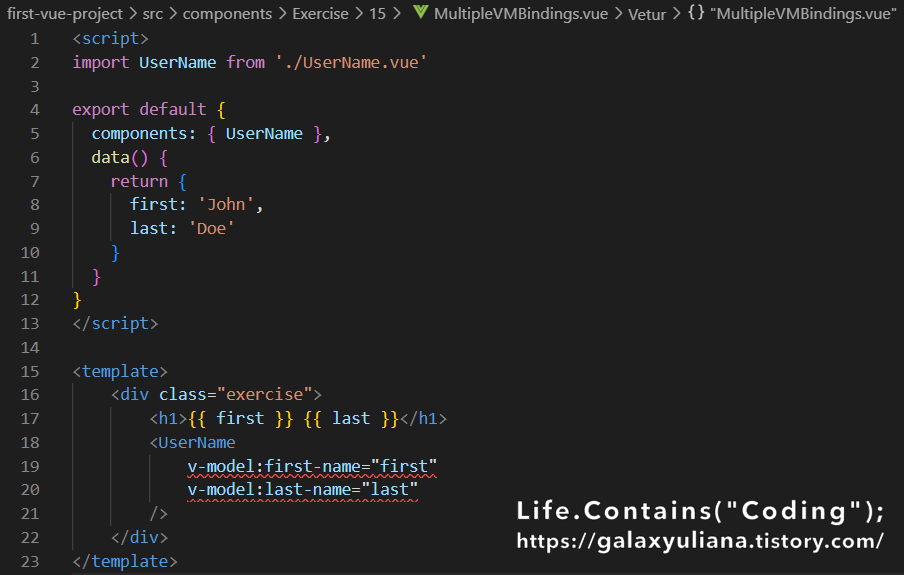
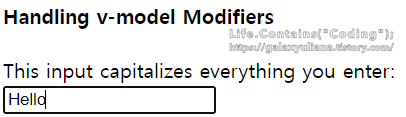
Handling v-model modifiers
form input 바인딩에 대해 배울 때 v-model에 .trim, .number, .lazy와 같은 빌트인 수식어가 있음을 알 수 있었다. 그러나 경우에 따라 고유한 사용자 지정 수식어를 추가할 수도 있다.
v-model 바인딩으로 제공하는 문자열의 첫 번째 문자를 대문자로 표시하는 사용자 지정 수식어 capitalize를 만들어 보자.
<MyComponent v-model.capitalize="myText" />Component v-model에 추가된 수식어는 modelModifiers prop을 통해 component에 제공된다. 아래 예제에서는 기본적으로 빈 객체로 설정되는 modelModifiers prop이 포함된 component를 만들었다.
<script>
export default {
  props: {
    modelValue: String,
    modelModifiers: {
      default: () => ({})
    }
  },
  emits: ['update:modelValue'],
  created() {
    console.log(this.modelModifiers) // { capitalize: true }
  }
}
</script>

<template>
  <input
    type="text"
    :value="modelValue"
    @input="$emit('update:modelValue', $event.target.value)"
  />
</template>
v-model 바인딩 시 v-model.capitalize="myText"에 의해 설정되었기 때문에 component의 modelModifiers prop에 capitalize가 포함되어 있고 그 값은 true다.
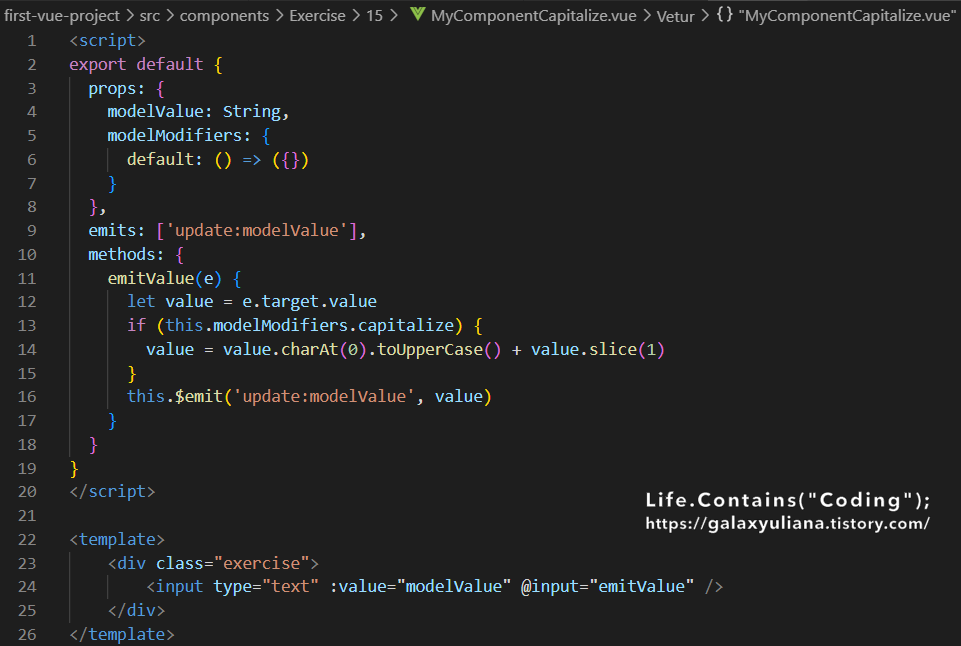
이제 prop이 설정되었으므로 modelModifiers 객체의 키를 확인하고 전달된 값을 변경하는 핸들러를 작성할 수 있다. 아래 코드에서는 <input /> element가 input 이벤트를 발생시킬 때마다 문자열을 대문자로 표시한다.
<script>
export default {
  props: {
    modelValue: String,
    modelModifiers: {
      default: () => ({})
    }
  },
  emits: ['update:modelValue'],
  methods: {
    emitValue(e) {
      let value = e.target.value
      if (this.modelModifiers.capitalize) {
        value = value.charAt(0).toUpperCase() + value.slice(1)
      }
      this.$emit('update:modelValue', value)
    }
  }
}
</script>

<template>
  <input type="text" :value="modelValue" @input="emitValue" />
</template>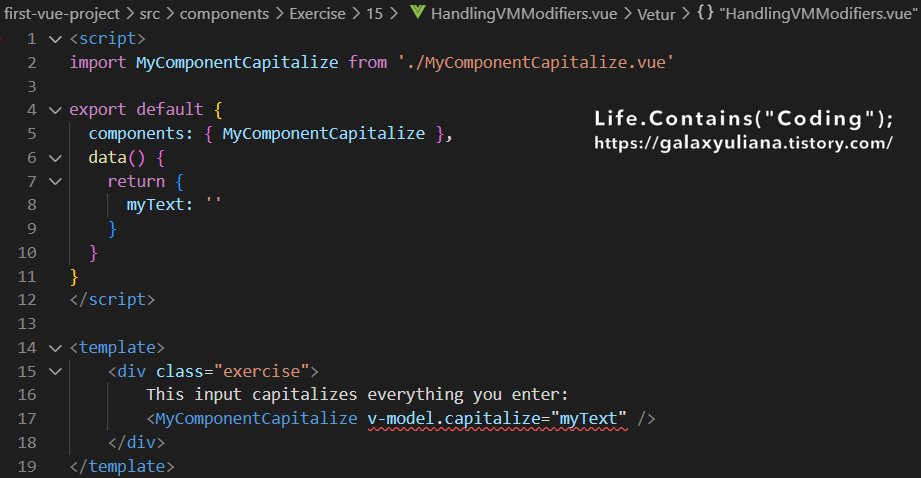
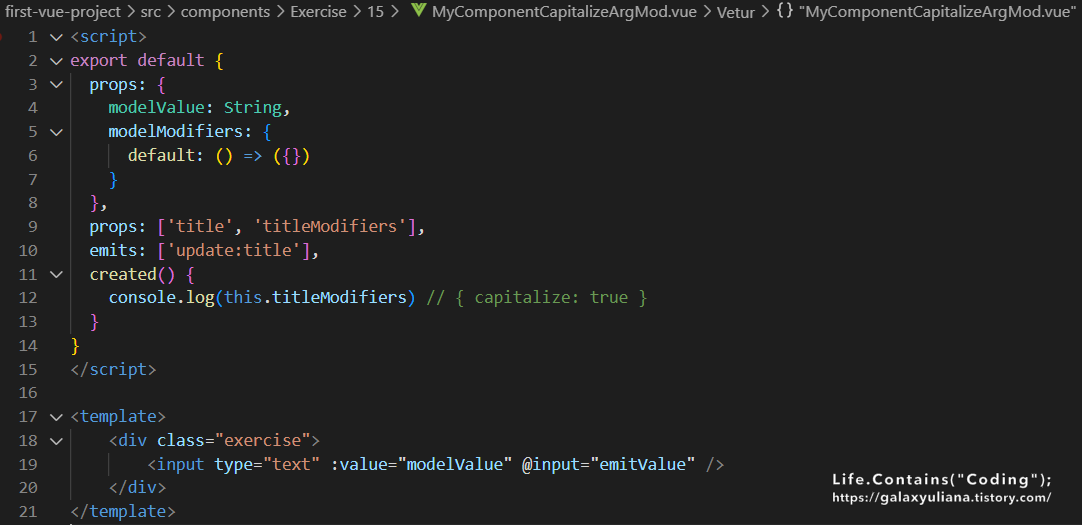
인자와 수식어가 모두 있는 v-model 바인딩의 경우 생성된 prop 이름은 인자이름 + "Modifiers"가 된다. 예를 들어:
<MyComponent v-model:title.capitalize="myText">선언은 다음과 같다.
export default {
  props: ['title', 'titleModifiers'],
  emits: ['update:title'],
  created() {
    console.log(this.titleModifiers) // { capitalize: true }
  }
}
관련 Repo
참고 자료
'Development > Vue.js' 카테고리의 다른 글
| [Vue.js] Document 따라하기 - Props (0) | 2022.07.18 |
|---|---|
| [Vue.js] Document 따라하기 - Component Registration (0) | 2022.07.12 |
| [Vue.js] Document 따라하기 - Components Basics (0) | 2022.07.11 |
| [Vue.js] Document 따라하기 - Template Refs (0) | 2022.07.03 |
| [Vue.js] Document 따라하기 - Watchers (0) | 2022.06.26 |